> ## Documentation Index
> Fetch the complete documentation index at: https://docs.jitra.app/llms.txt
> Use this file to discover all available pages before exploring further.
# Configuring Ruptela Devices
> Configure a Ruptela GPS Device in Device Center or Advanced Configurator to send data to Jitra.
Ruptela devices connect to Jitra through the Ruptela protocol listener. Use the configuration application supported by the exact device generation.
## Recommended Configuration
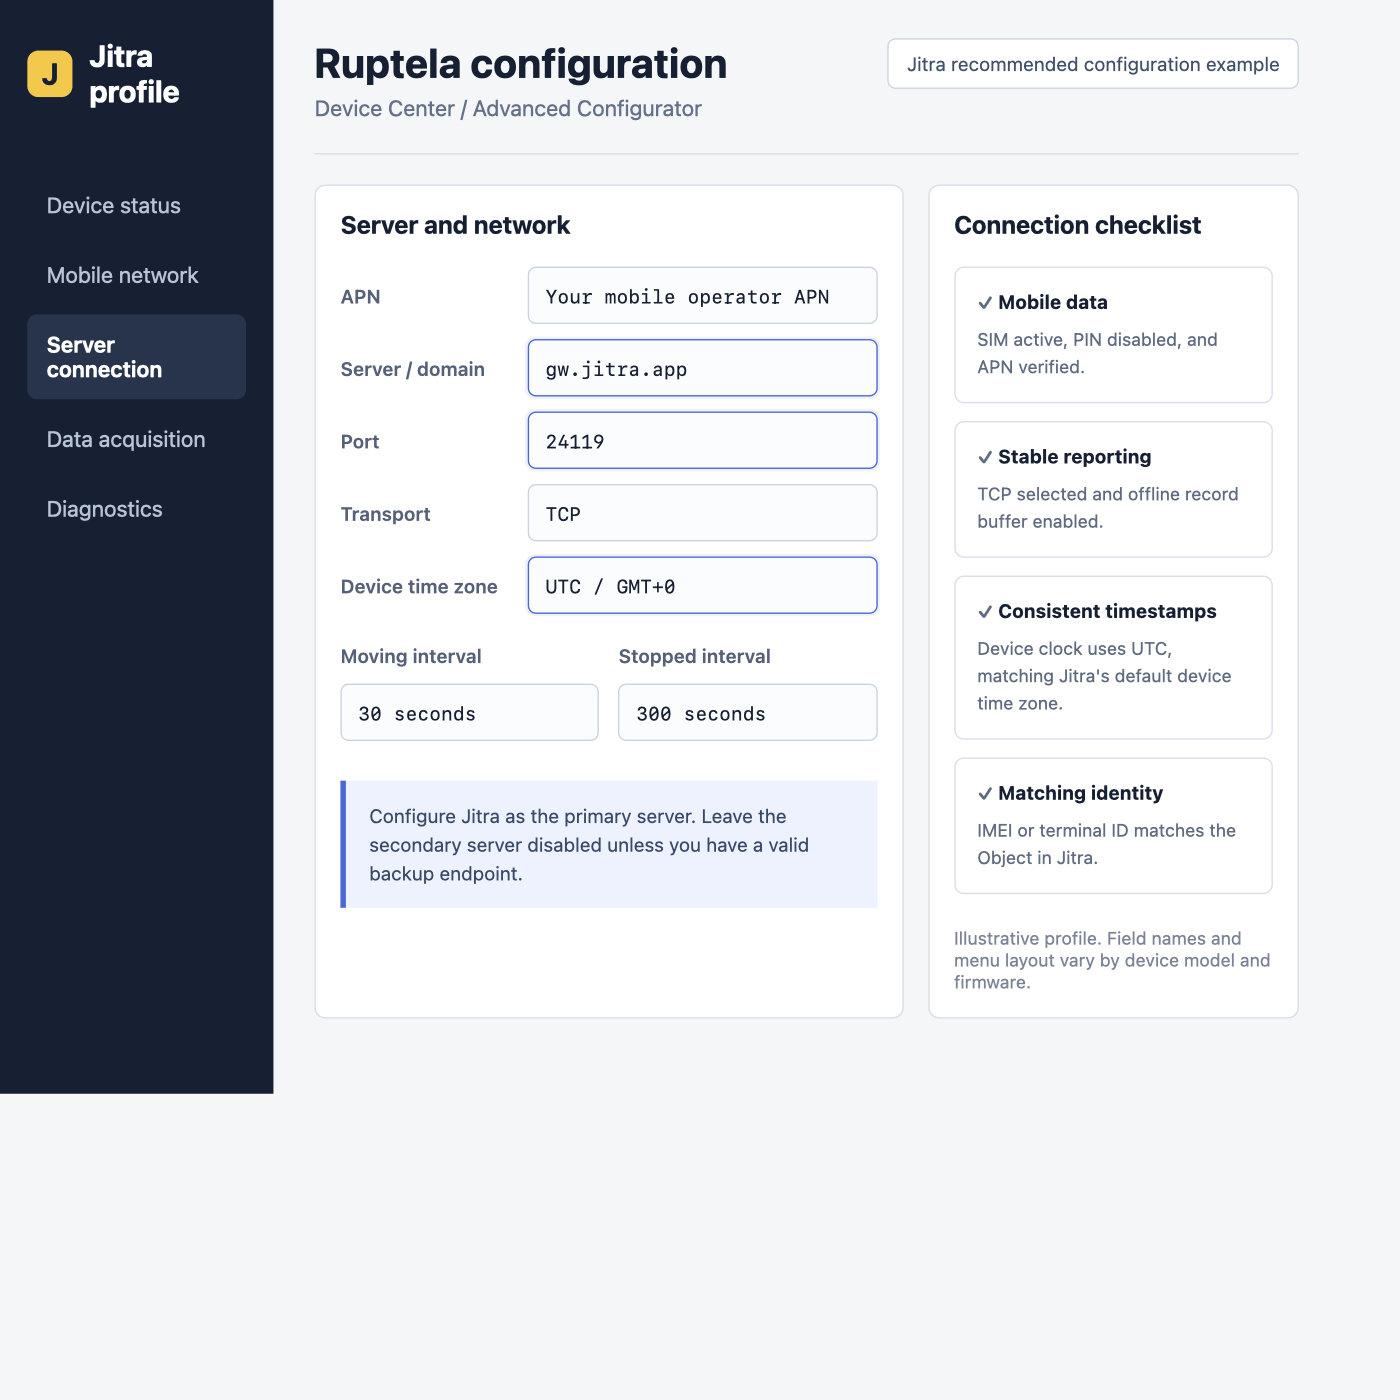 | Setting | Value |
| - | - |
| Primary server | `gw.jitra.app` |
| Port | `24119` |
| Protocol | TCP |
| Time synchronization | UTC / GMT+0 |
| Moving / stopped interval | 30 / 300 seconds |
| Offline records | Enabled |
| Device ID | IMEI |
## Configure the Connection
Connect the tracker and open the compatible **Device Center** or **Advanced Configurator**. Read and save the current configuration before editing it.
In the active mobile network profile, enter the SIM operator APN and credentials when required. Auto APN can be used only when supported by the SIM and firmware.
Set the primary server to `gw.jitra.app`, port to `24119`, and protocol to **TCP**. Leave the secondary server disabled unless a valid backup endpoint has been provided.
Start with 30 seconds while moving and 300 seconds while stopped. Keep offline record storage enabled.
Write the profile to the tracker, restart it, and read the configuration again to confirm that the values were saved.
Ruptela's two-server behavior changes depending on whether **Two servers** is enabled. For a standard Jitra installation, configure Jitra as the primary server and avoid enabling a second destination unintentionally.
## Verify in Jitra
Create the Object in **Settings > Objects > New**, select the matching Ruptela model, and enter its IMEI. Confirm current coordinates, a recent update time, and buffered records after a simulated network interruption.
## Official References
* [Ruptela connection settings in Advanced mode](https://my.ruptela.com/en/articles/9447463-device-connection-settings-via-advanced-mode)
* [Ruptela documentation portal](https://doc.ruptela.com/home/en-us/?language=en_US)
This documentation is built and hosted on [Mintlify](https://mintlify.com), a developer documentation platform.
| Setting | Value |
| - | - |
| Primary server | `gw.jitra.app` |
| Port | `24119` |
| Protocol | TCP |
| Time synchronization | UTC / GMT+0 |
| Moving / stopped interval | 30 / 300 seconds |
| Offline records | Enabled |
| Device ID | IMEI |
## Configure the Connection
Connect the tracker and open the compatible **Device Center** or **Advanced Configurator**. Read and save the current configuration before editing it.
In the active mobile network profile, enter the SIM operator APN and credentials when required. Auto APN can be used only when supported by the SIM and firmware.
Set the primary server to `gw.jitra.app`, port to `24119`, and protocol to **TCP**. Leave the secondary server disabled unless a valid backup endpoint has been provided.
Start with 30 seconds while moving and 300 seconds while stopped. Keep offline record storage enabled.
Write the profile to the tracker, restart it, and read the configuration again to confirm that the values were saved.
Ruptela's two-server behavior changes depending on whether **Two servers** is enabled. For a standard Jitra installation, configure Jitra as the primary server and avoid enabling a second destination unintentionally.
## Verify in Jitra
Create the Object in **Settings > Objects > New**, select the matching Ruptela model, and enter its IMEI. Confirm current coordinates, a recent update time, and buffered records after a simulated network interruption.
## Official References
* [Ruptela connection settings in Advanced mode](https://my.ruptela.com/en/articles/9447463-device-connection-settings-via-advanced-mode)
* [Ruptela documentation portal](https://doc.ruptela.com/home/en-us/?language=en_US)
This documentation is built and hosted on [Mintlify](https://mintlify.com), a developer documentation platform.