
Recommended Configuration
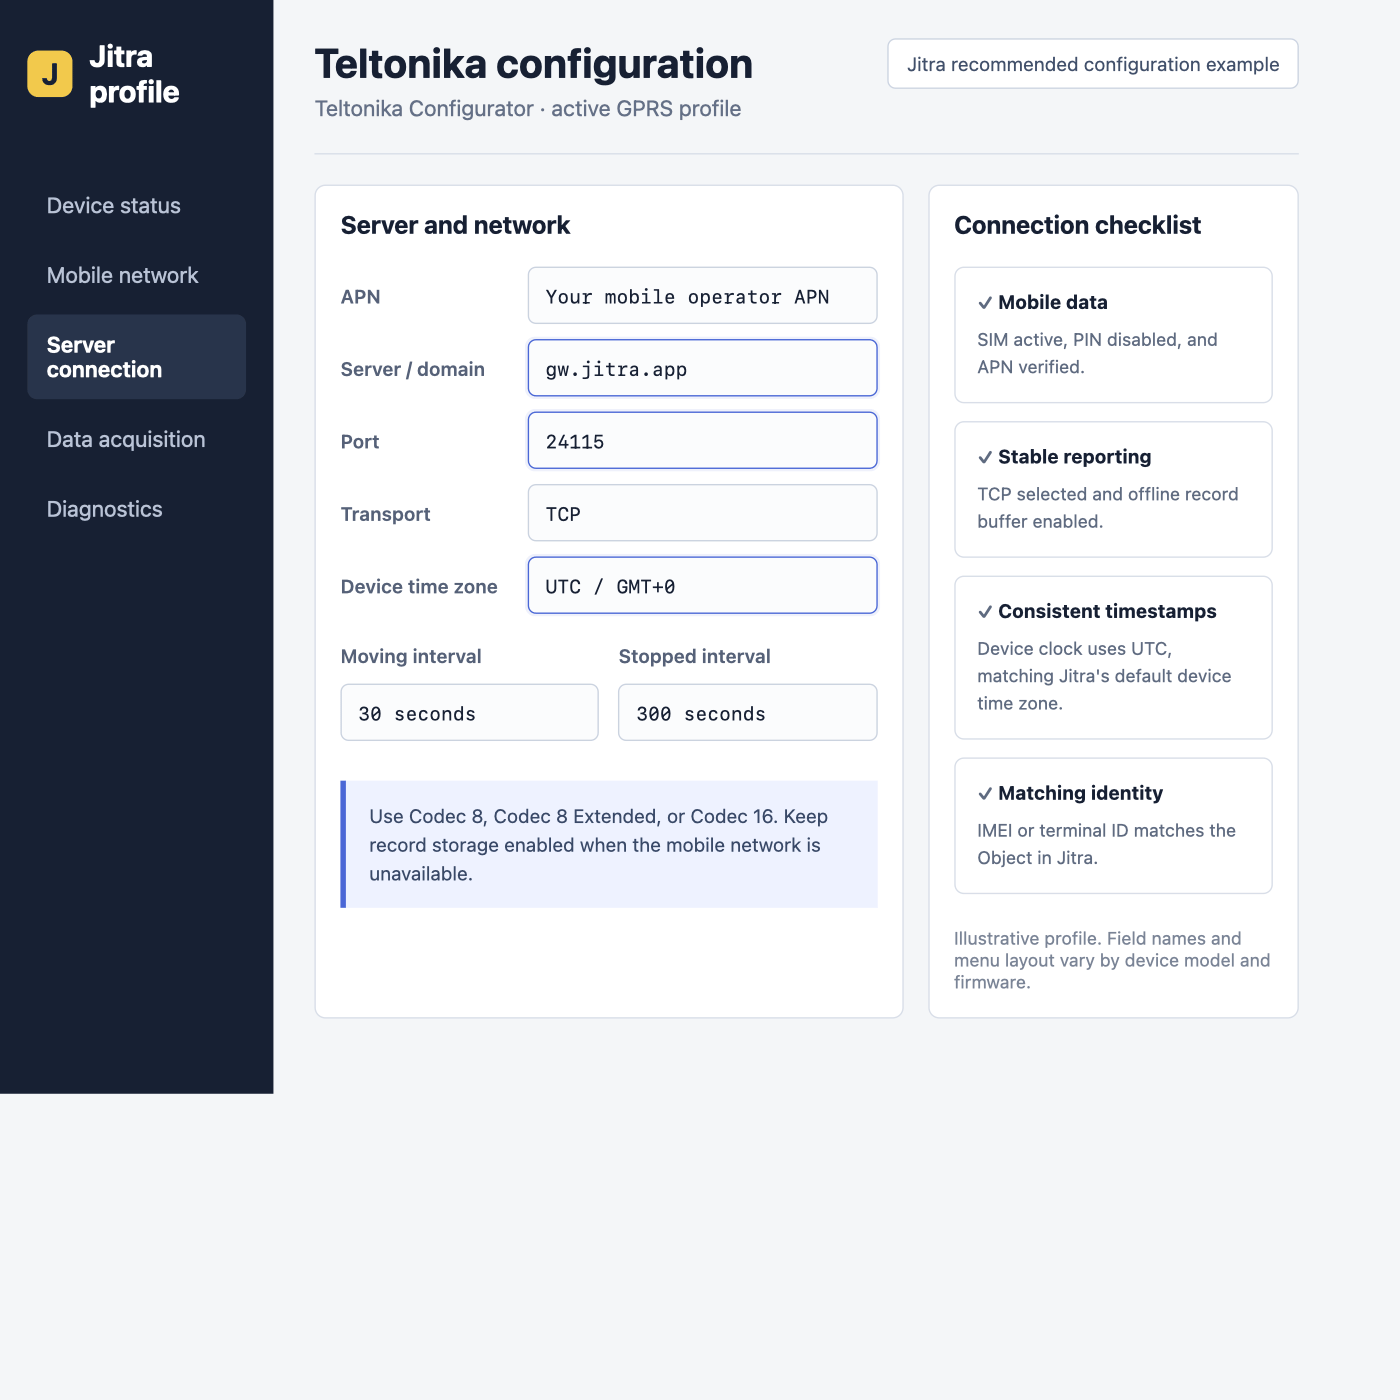
Illustrative Jitra profile. Menu names and layout vary by Teltonika model, firmware, and Configurator version.
Configure with Teltonika Configurator
1
Open the correct Configurator
Connect the tracker over USB or Bluetooth and use the Teltonika Configurator version supported by the exact model and firmware. Read the current configuration before making changes.
2
Configure the SIM and GPRS profile
Under GPRS, enter the mobile operator APN. Enter the APN username and password only when the operator requires them.
3
Configure the server
In the active server profile, set Domain to
gw.jitra.app, Port to 24115, and Protocol to TCP. Keep a supported Codec selected.4
Configure data acquisition
Use 30 seconds while moving and 300 seconds while stopped as a balanced starting point. Keep record storage enabled so the device can resend data after a network outage.
5
Save and restart
Write the configuration to the device, restart it, and confirm that the GPRS and server connection statuses are active.
Teltonika SMS parameter IDs commonly map
2001 to APN, 2002 to APN username, 2003 to APN password, 2004 to domain, 2005 to port, and 2006 to transport (0 for TCP). Confirm the IDs in the exact model documentation before using SMS configuration.